The following steps are necessary to create a
Windows XP VPN Server.
-
Go to Start -> Control Panel ->
Network Connections.
-
Start the New Connection Wizard (see picture
1).

|
| Picture 1
|
-
Click on the Next button.
-
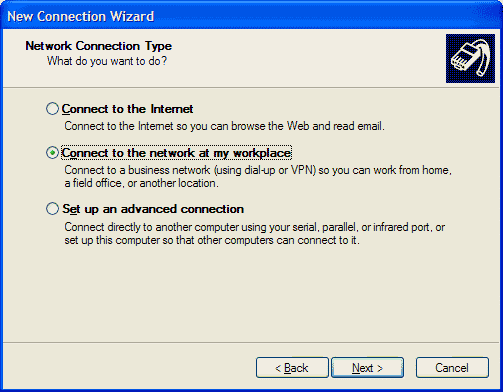
Select Connect to the network at my
workplace (see picture 2).
|
| Picture 2
|
-
Click on the Next button.
-
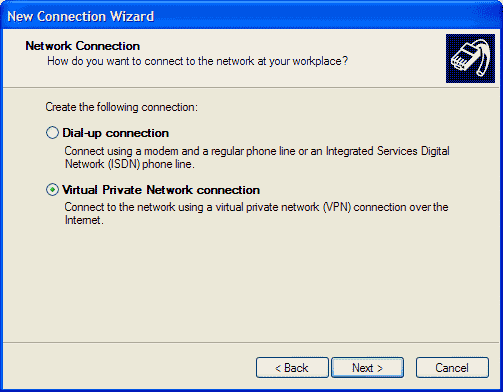
Click on Virtual Private Network connection
(see picture 3).
|
| Picture 3
|
-
Click on the Next button.
-
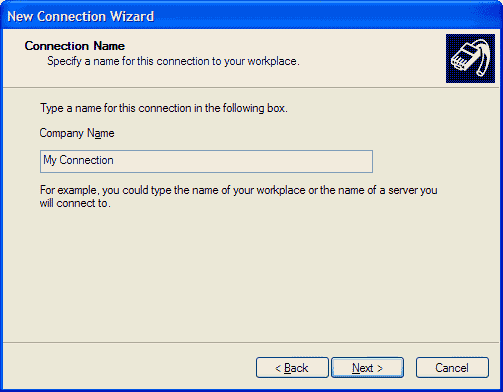
Give the Connection a Name (see picture
4).
|
| Picture 4
|
-
Click on the Next button.
-
If prompted, select whether or not you need to dial
to the Internet before establishing a VPN connection and click on
the Next button.
-
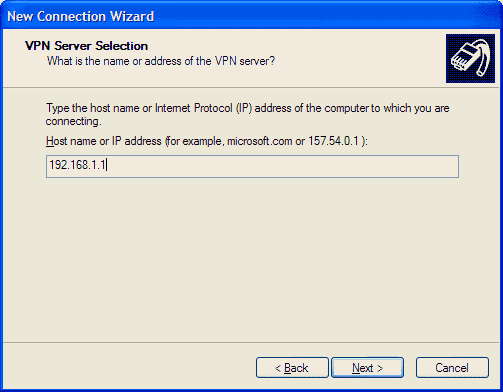
Enter in the IP address of the server you want to
connect to (see picture 5).
|
| Picture 5
|
-
Click on the Next button.
-
On the Connection Availability choose for who the
connection is created (see picture 6).
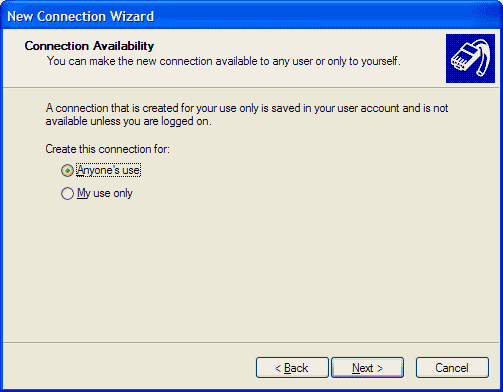
|
| Picture 6
|
-
Click on the Next button.
-
Check whether you want to have an icon placed on
the desktop and click on the Finish button (see picture
7).

|
| Picture 7
|
The default Client TCP/IP setting might interfere with your
ability to access the Internet while having a VPN connection. To
correct this:


